Seemetrix installation
Preparations to Seemetrix installation
Step 1. Make sure your device has Internet connection (by browsing google.com, for example).
Please note that Seemetrix requires following ports to be opened for outbound connections: 1488, 20002
Step 2. Make sure the web/inbuilt camera on your device is installed and is running as expected (by opening camera app, for example).
Seemetrix installation
Step 3. Please install it:
- on your Android device with connected web cam – seemetrix-install-android.apk
- on your Windows device with connected web cam – seemetrix-install-win32-x86_64.exe
- on your Linux device with connected web cam: Ubuntu 14.04 / Ubuntu 16.04 / Ubuntu 18.04 / Ubuntu 22.04

Step 4. Start Seemetrix on your device.
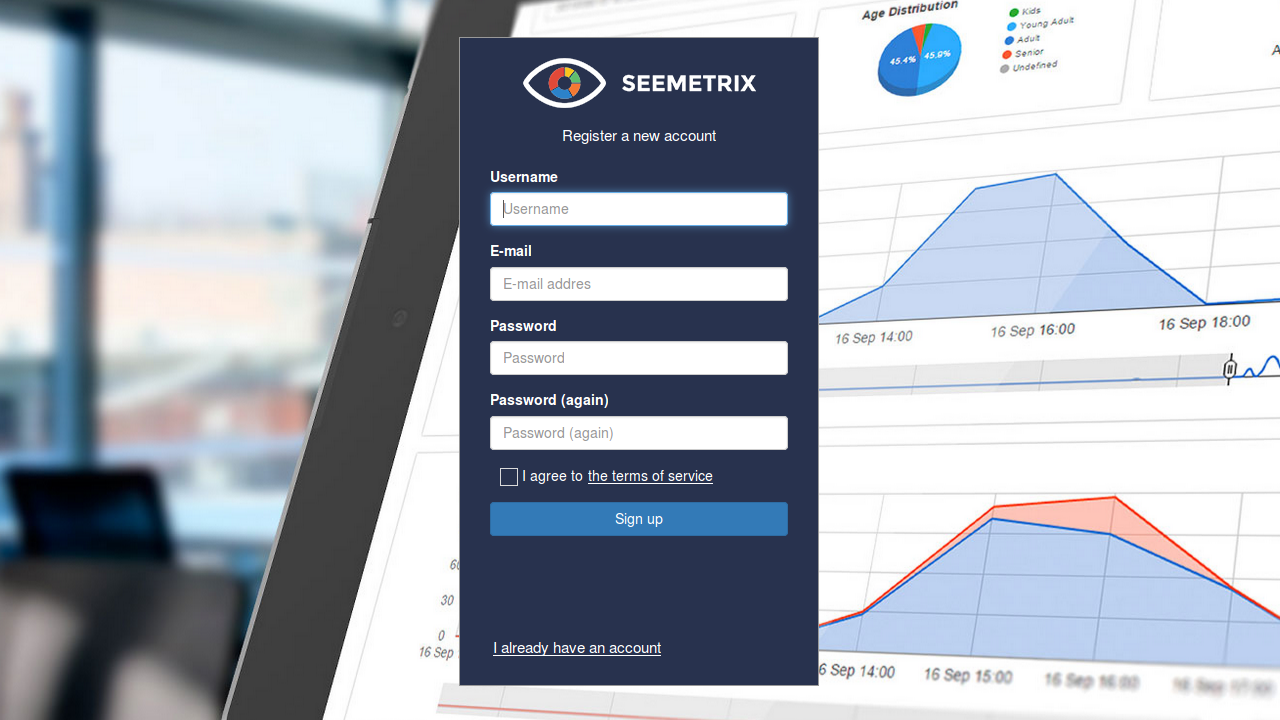
Step 5. Log in or register on your personal account on Seemetrix website https://cloud.seemetrix.3divi.com, verify your email address if necessary.
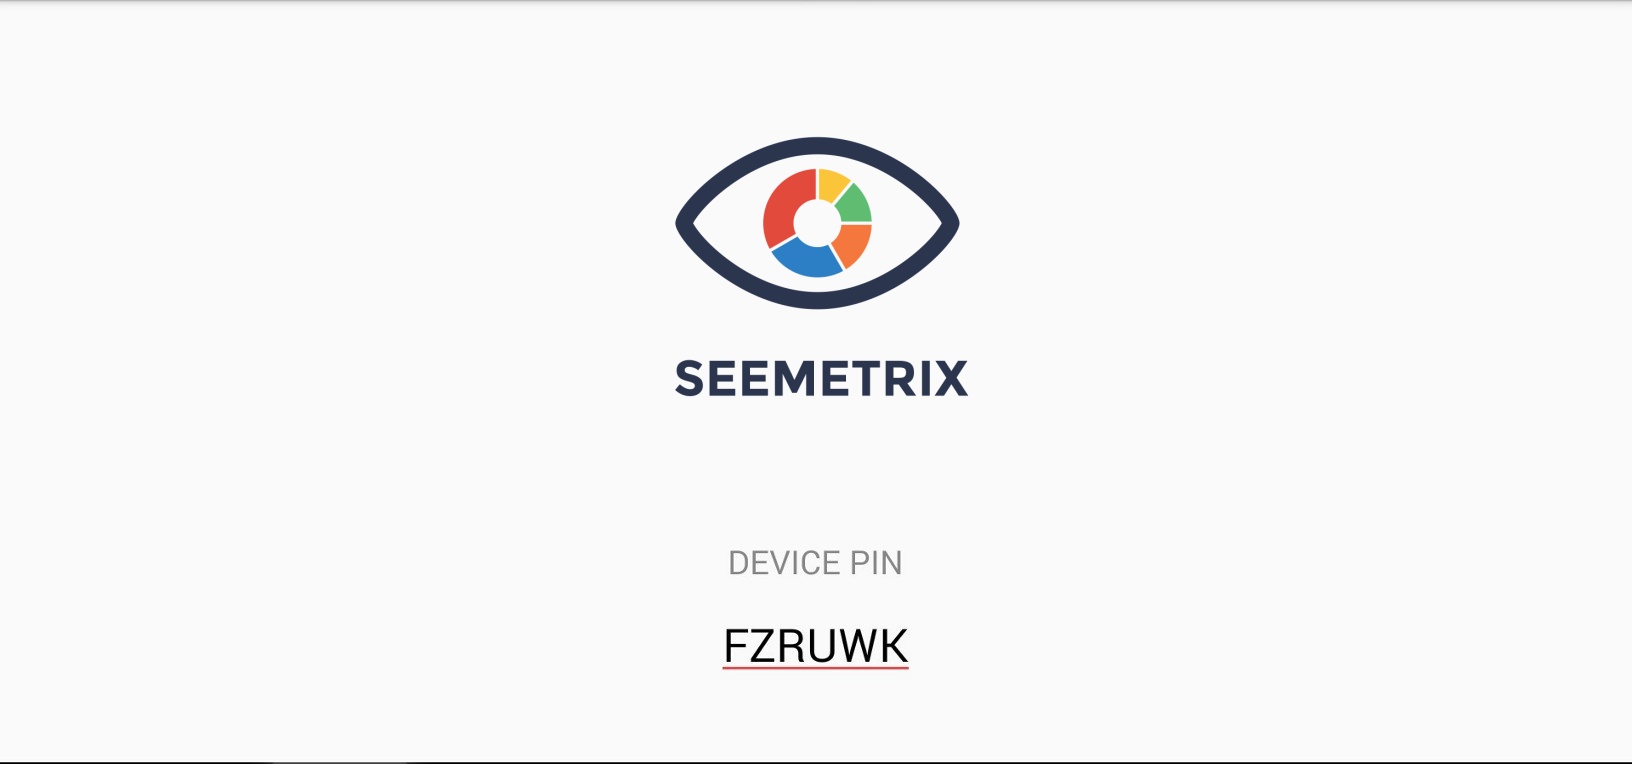
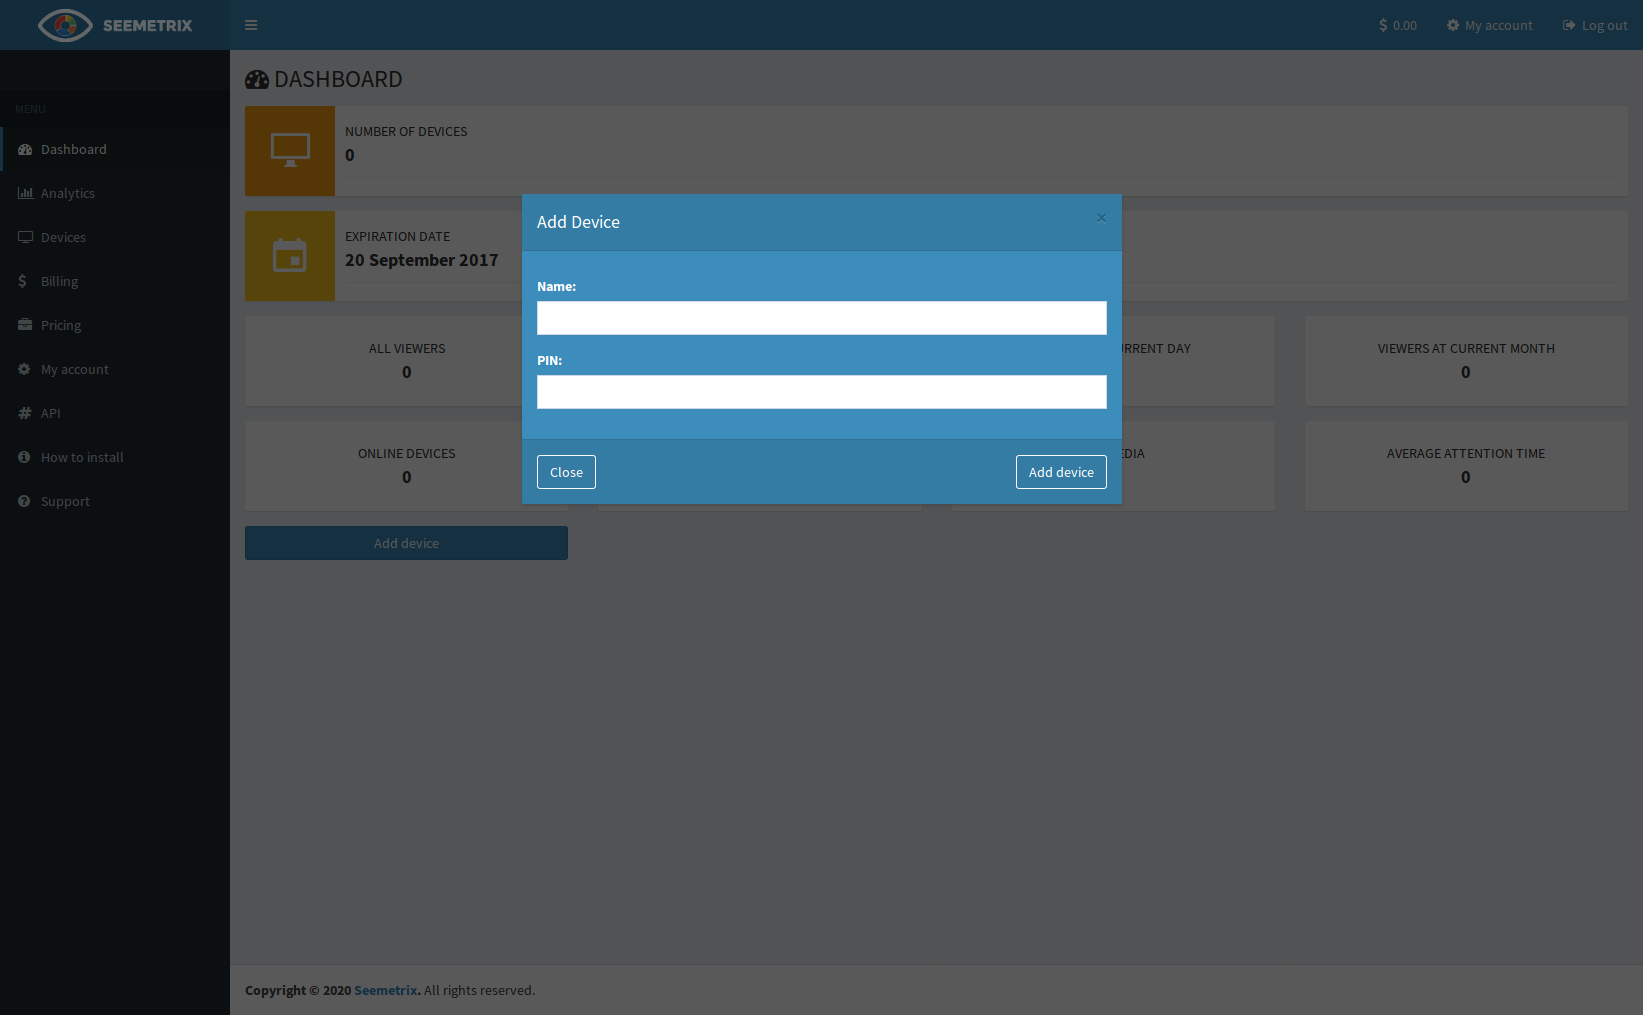
Step 6. Add new device in your personal account. In Dashboard tab choose Add Device and in the appeared form enter the name for the device and six-digit DEVICE PIN.
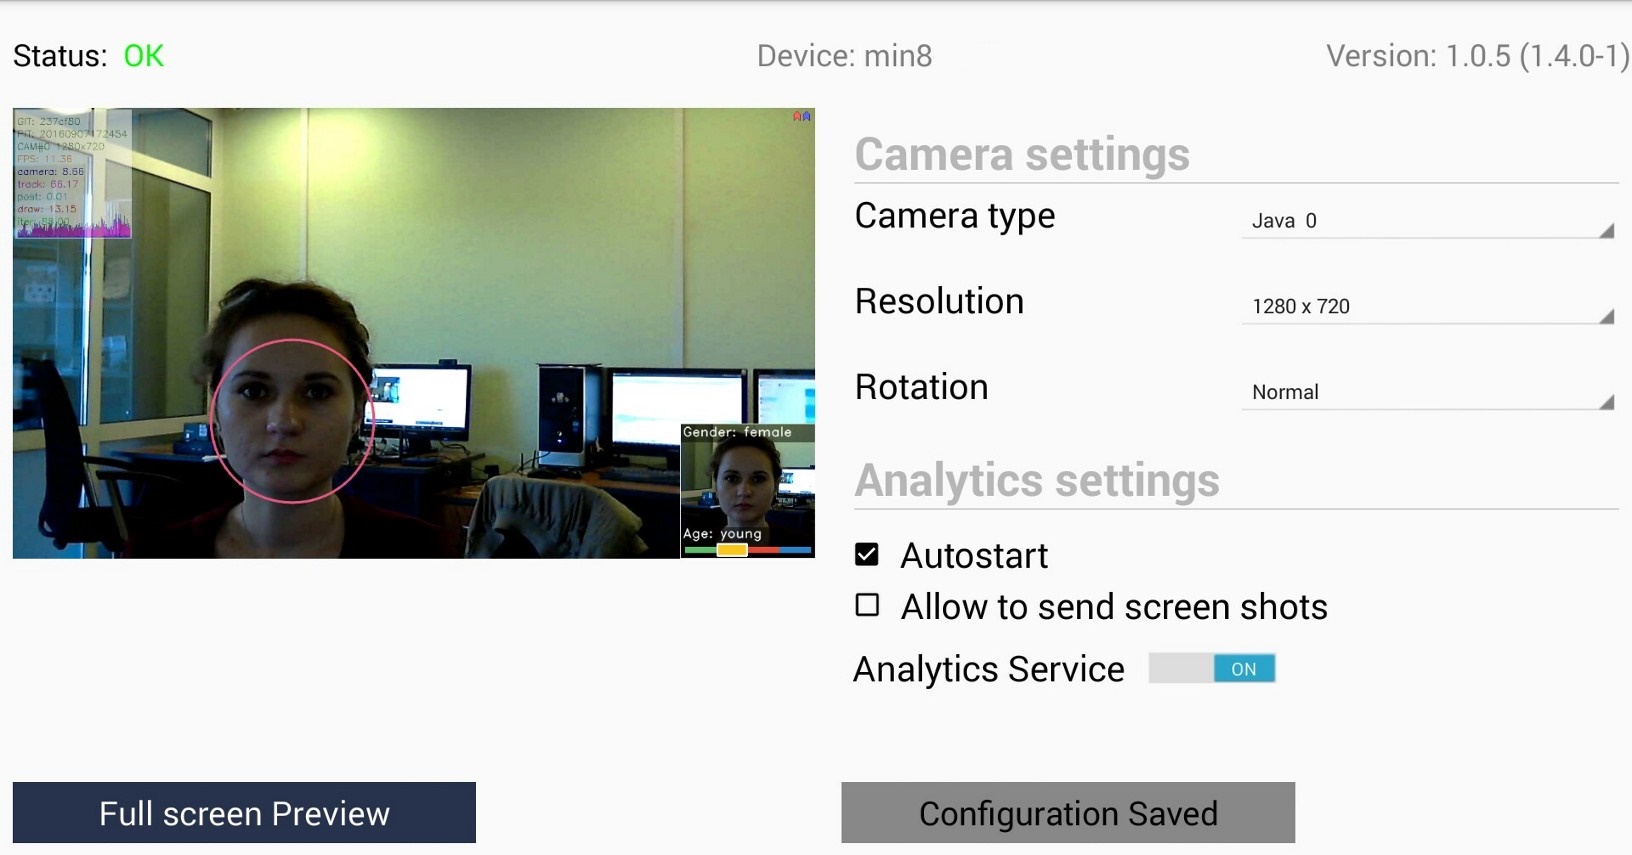
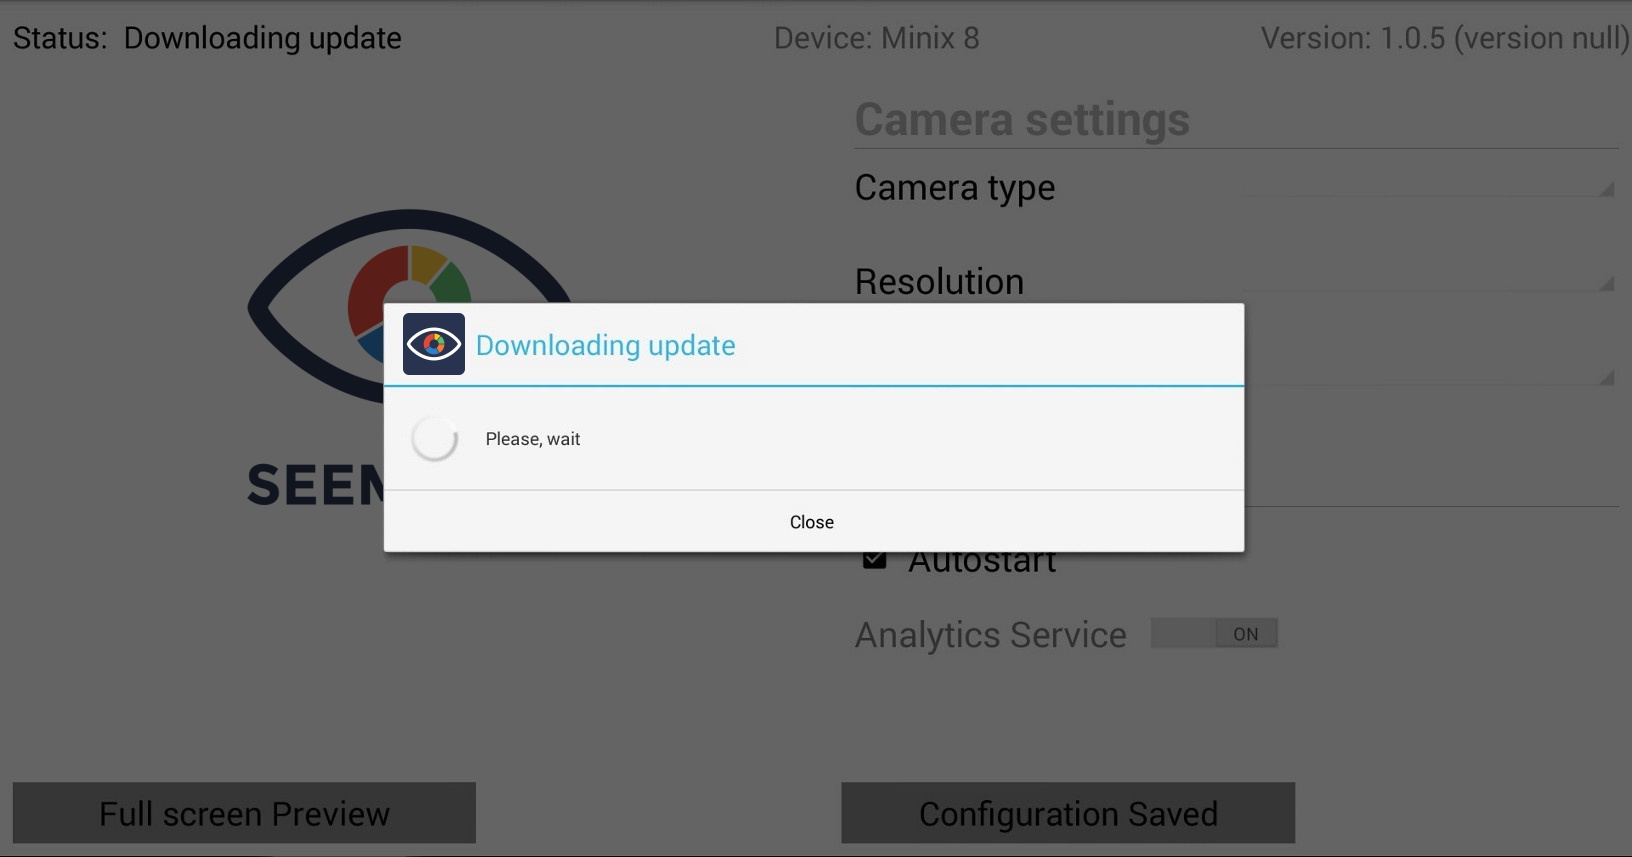
Step 7. Wait until the library is downloaded and analytics is started on device, Seemetrix logo will be replaced with camera image.
Step 8. Configure camera settings and press “Apply” . We recommend you to use 1280x720 camera definition. If your device has several cameras then Java 0 will stand for the main camera and Java 1 - for the front camera.
Higher definition allows Seemetrix to work on longer distance but it also increases CPU consumption level.
Step 9. Wait until analytics with new characteristics is started.